Accessing site resources via VPN
To access site resources via a Virtual Private Network (VPN) you will need a VPN account.
See here to get an account
You don’t need VPN to access your e-mail. See the e-mail topic for details on how to do this.
Journals
Most journals do not require you to use VPN. You can access them using something called “Shibboleth” often referred to on a publishers’ website as “Institutional login”. Full details on how to use Shibboleth, and which websites require you to use VPN are available on the library information pages. See “Library information”.
VPN downloads (updated 20-Oct-25)
Once you have an account, you will need to install some software on your device. Make sure you are accessing this page from the device which you are going to use to access the NBI. Click on your device type in the list below to download the required software –


Accessing your Windows PC
After connecting to VPN, you can launch Remote Desktop and connect to your PC at NBI (your PC at NBI will need to be switched on)
- On a Windows PC
- From the Start button search for Remote Desktop (All Programs > Accessories > Remote Desktop Connection) :
- In the “Computer” field, enter “nXXXXX.nbi.ac.uk” to connect to your PC (where nXXXXX is your PC number).
- Log on with your domain username (nr4\yourUsername) and password.
- On a Mac
- Launch the Microsoft Remote Desktop Connection program (available from the Mac App store)
- Select to create a New connection
- Enter: nxxxxx.nbi.ac.uk in the ‘PC name’ section (where xxxxx is the ID number of your computer on site)
- Close the window, select the computer name you just entered and click ‘Start’
- Log on with your domain username (nr4\yourUsername) and password.
Accessing your Mac
- On a Mac
- Access the Go Menu and then Connect to Server
- Enter vnc://nXXXXX.nbi.ac.uk (where nXXXXX is your Mac’s ID number)
- Log on with your domain username and password.
- On a Windows PC
- Use a VNC program such as RealVNC Viewer to connect. Computing Support can assist to set this up for you if required
Remote Desktop Services
You can access standard windows-based applications on a variety of non-windows devices using “Remote Desktop Services”. To use remote desktop services, please follow these instructions
Installing & using the iOS client
First-time configuration
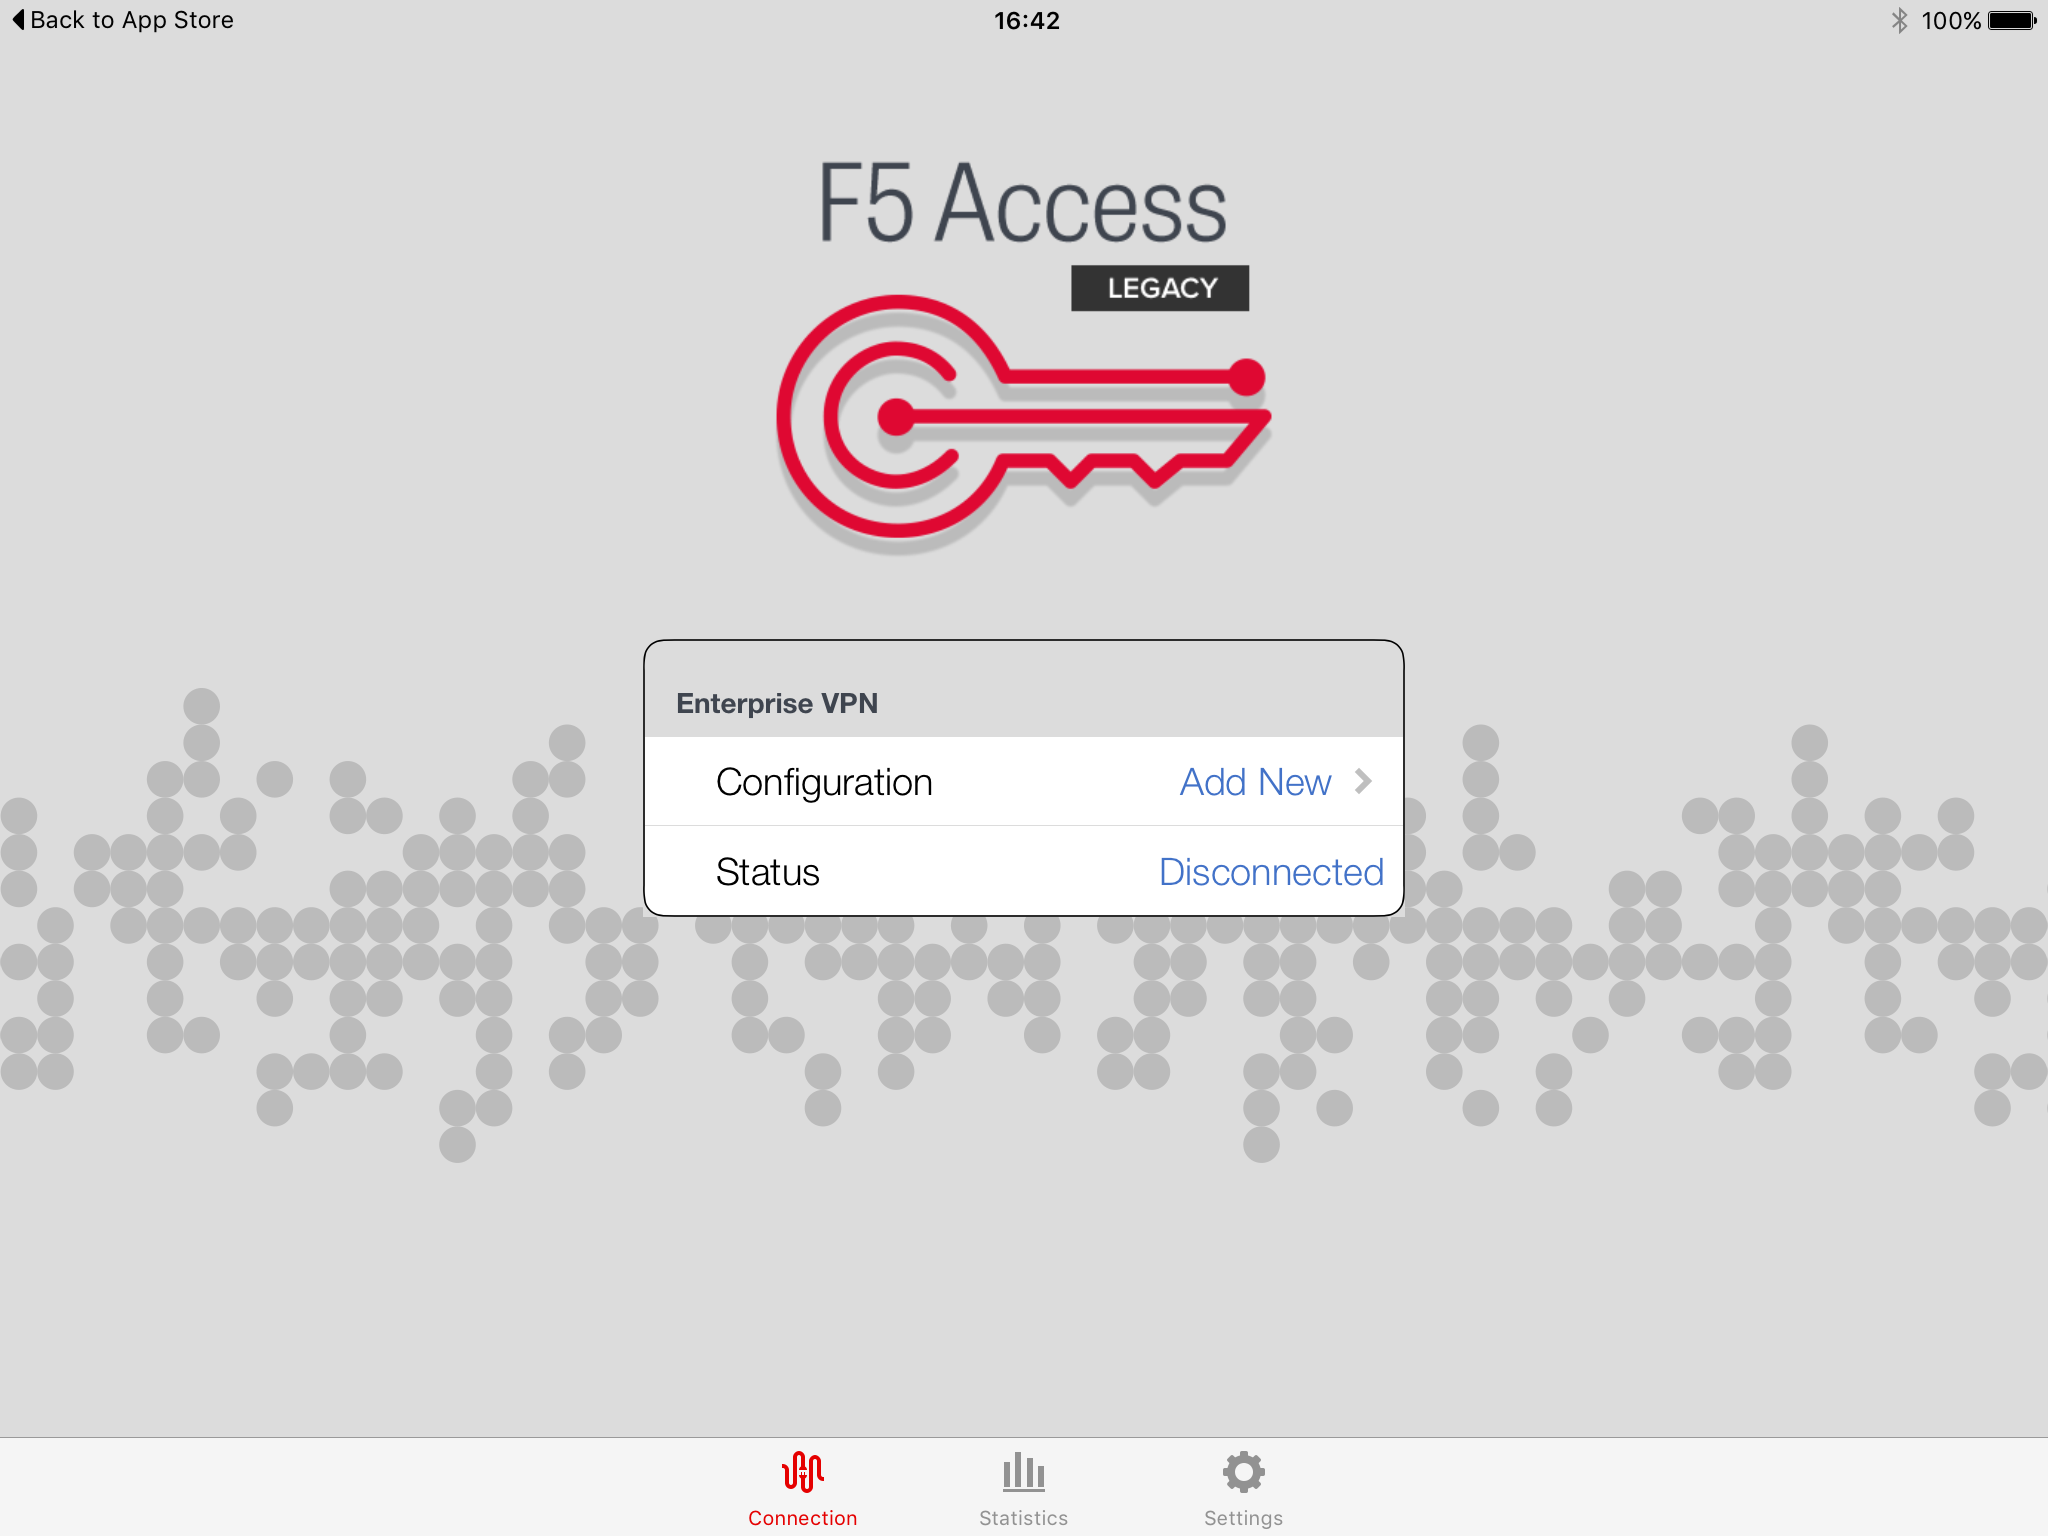
After downloading the Installer, run the installed app “F5 Access”

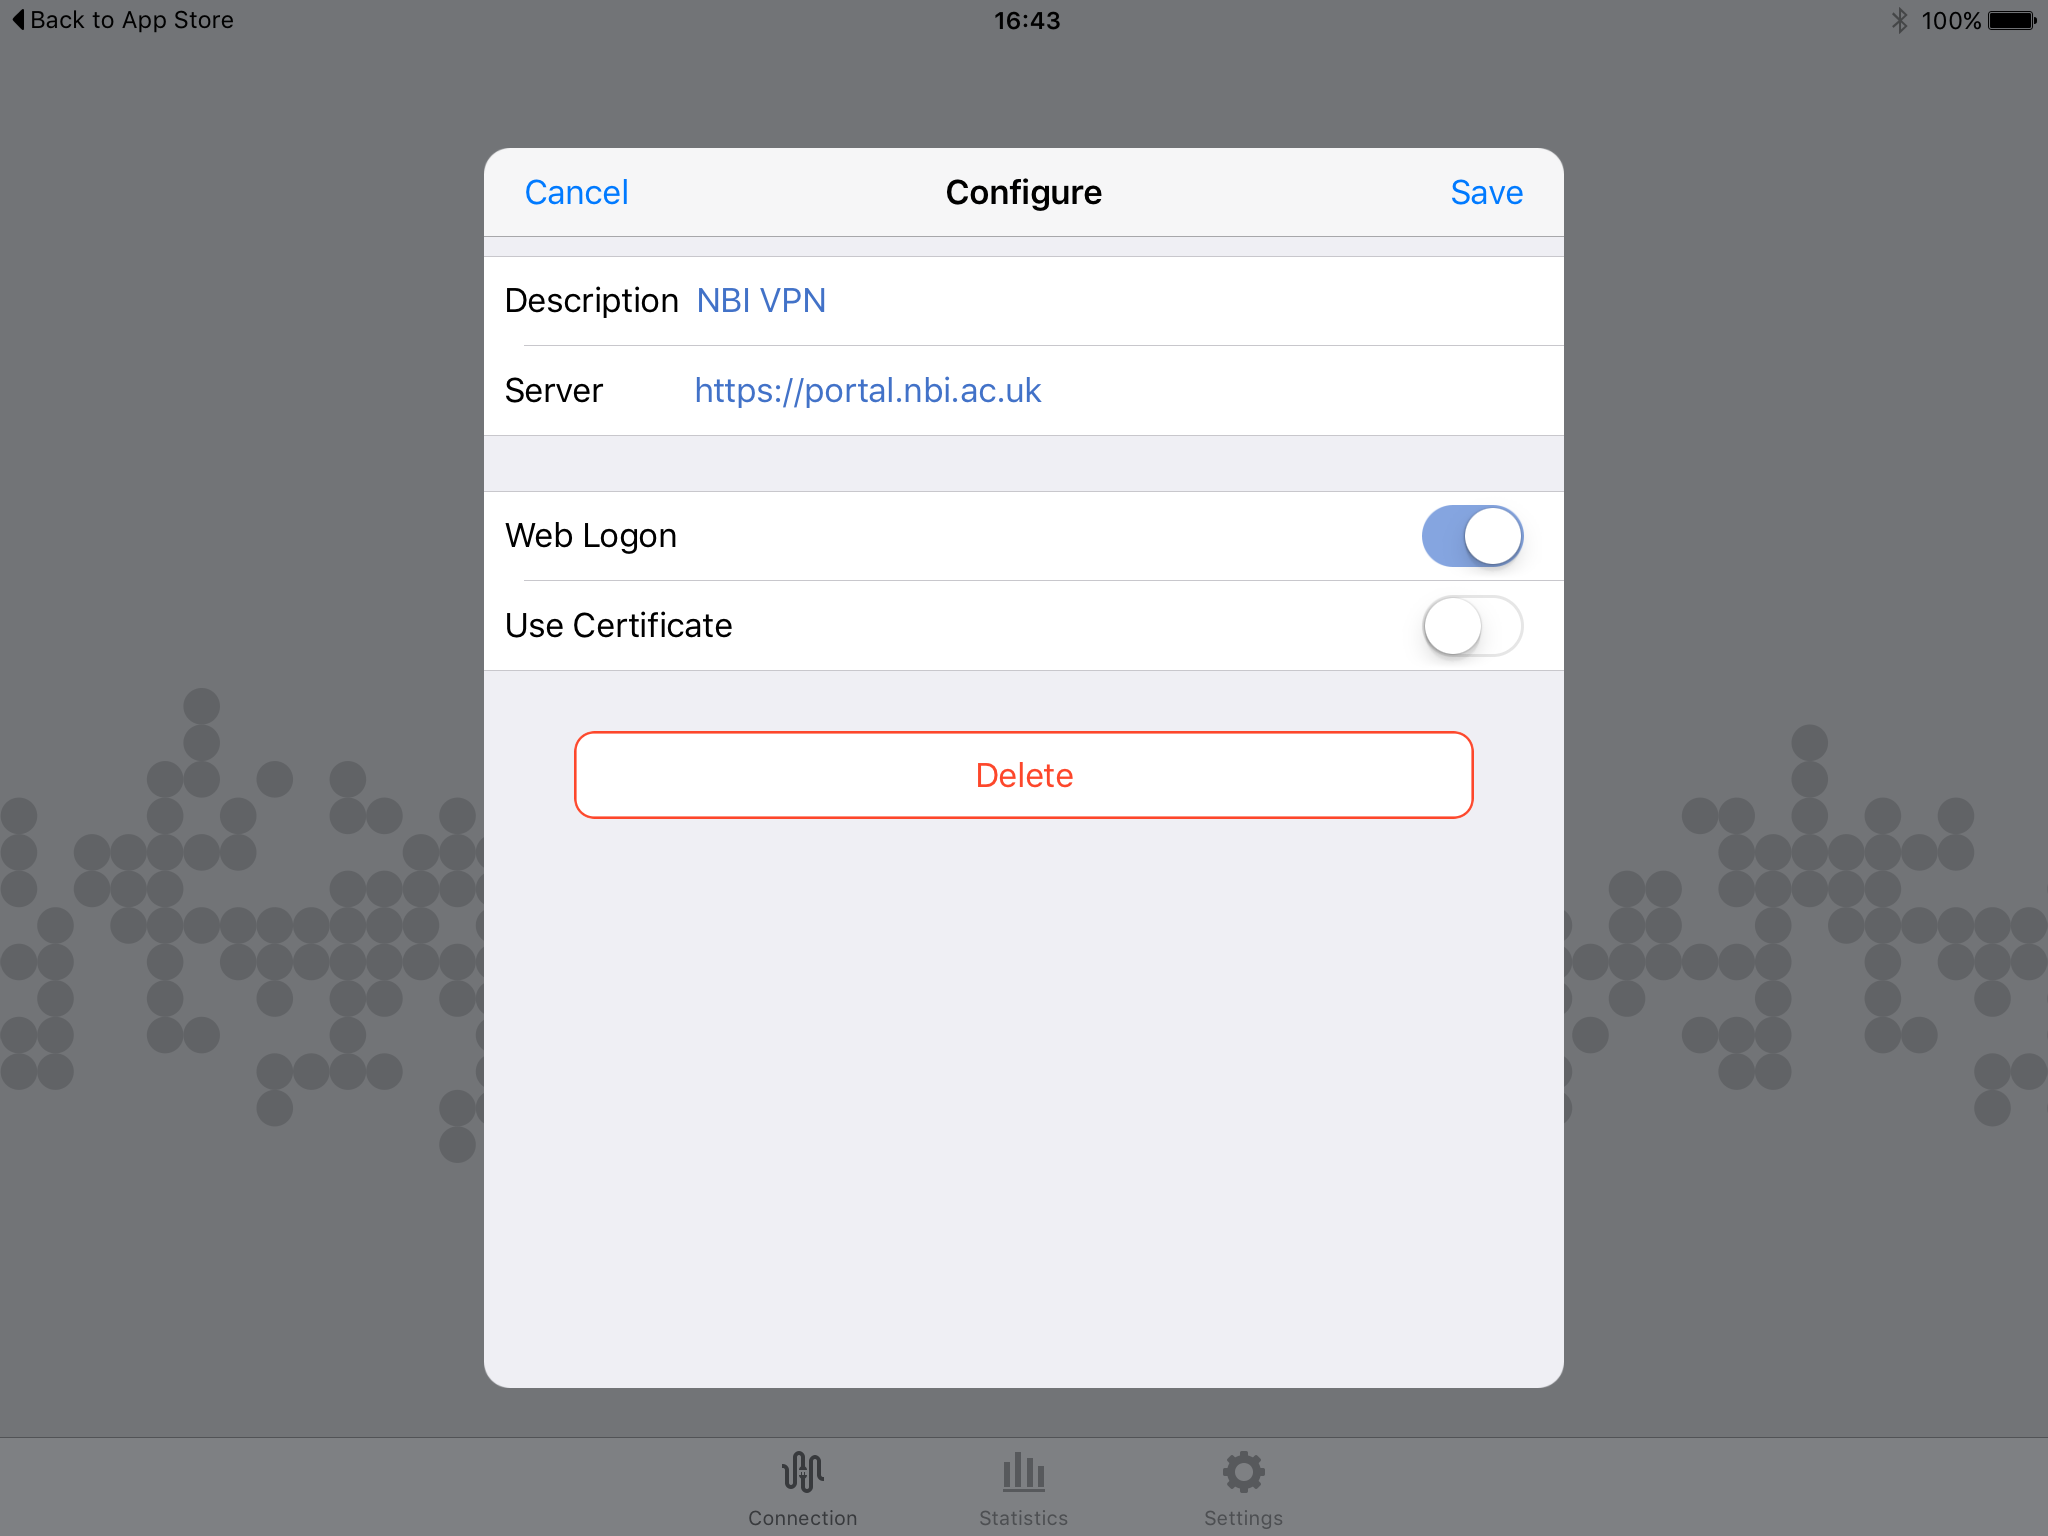
Tap on “Connections” and then “Configuration -> Add New”
Set the description to whatever you like e.g. NBI VPN, set the server to “https://sso-portal.nbi.ac.uk” and select “Web Logon” and select “Save”
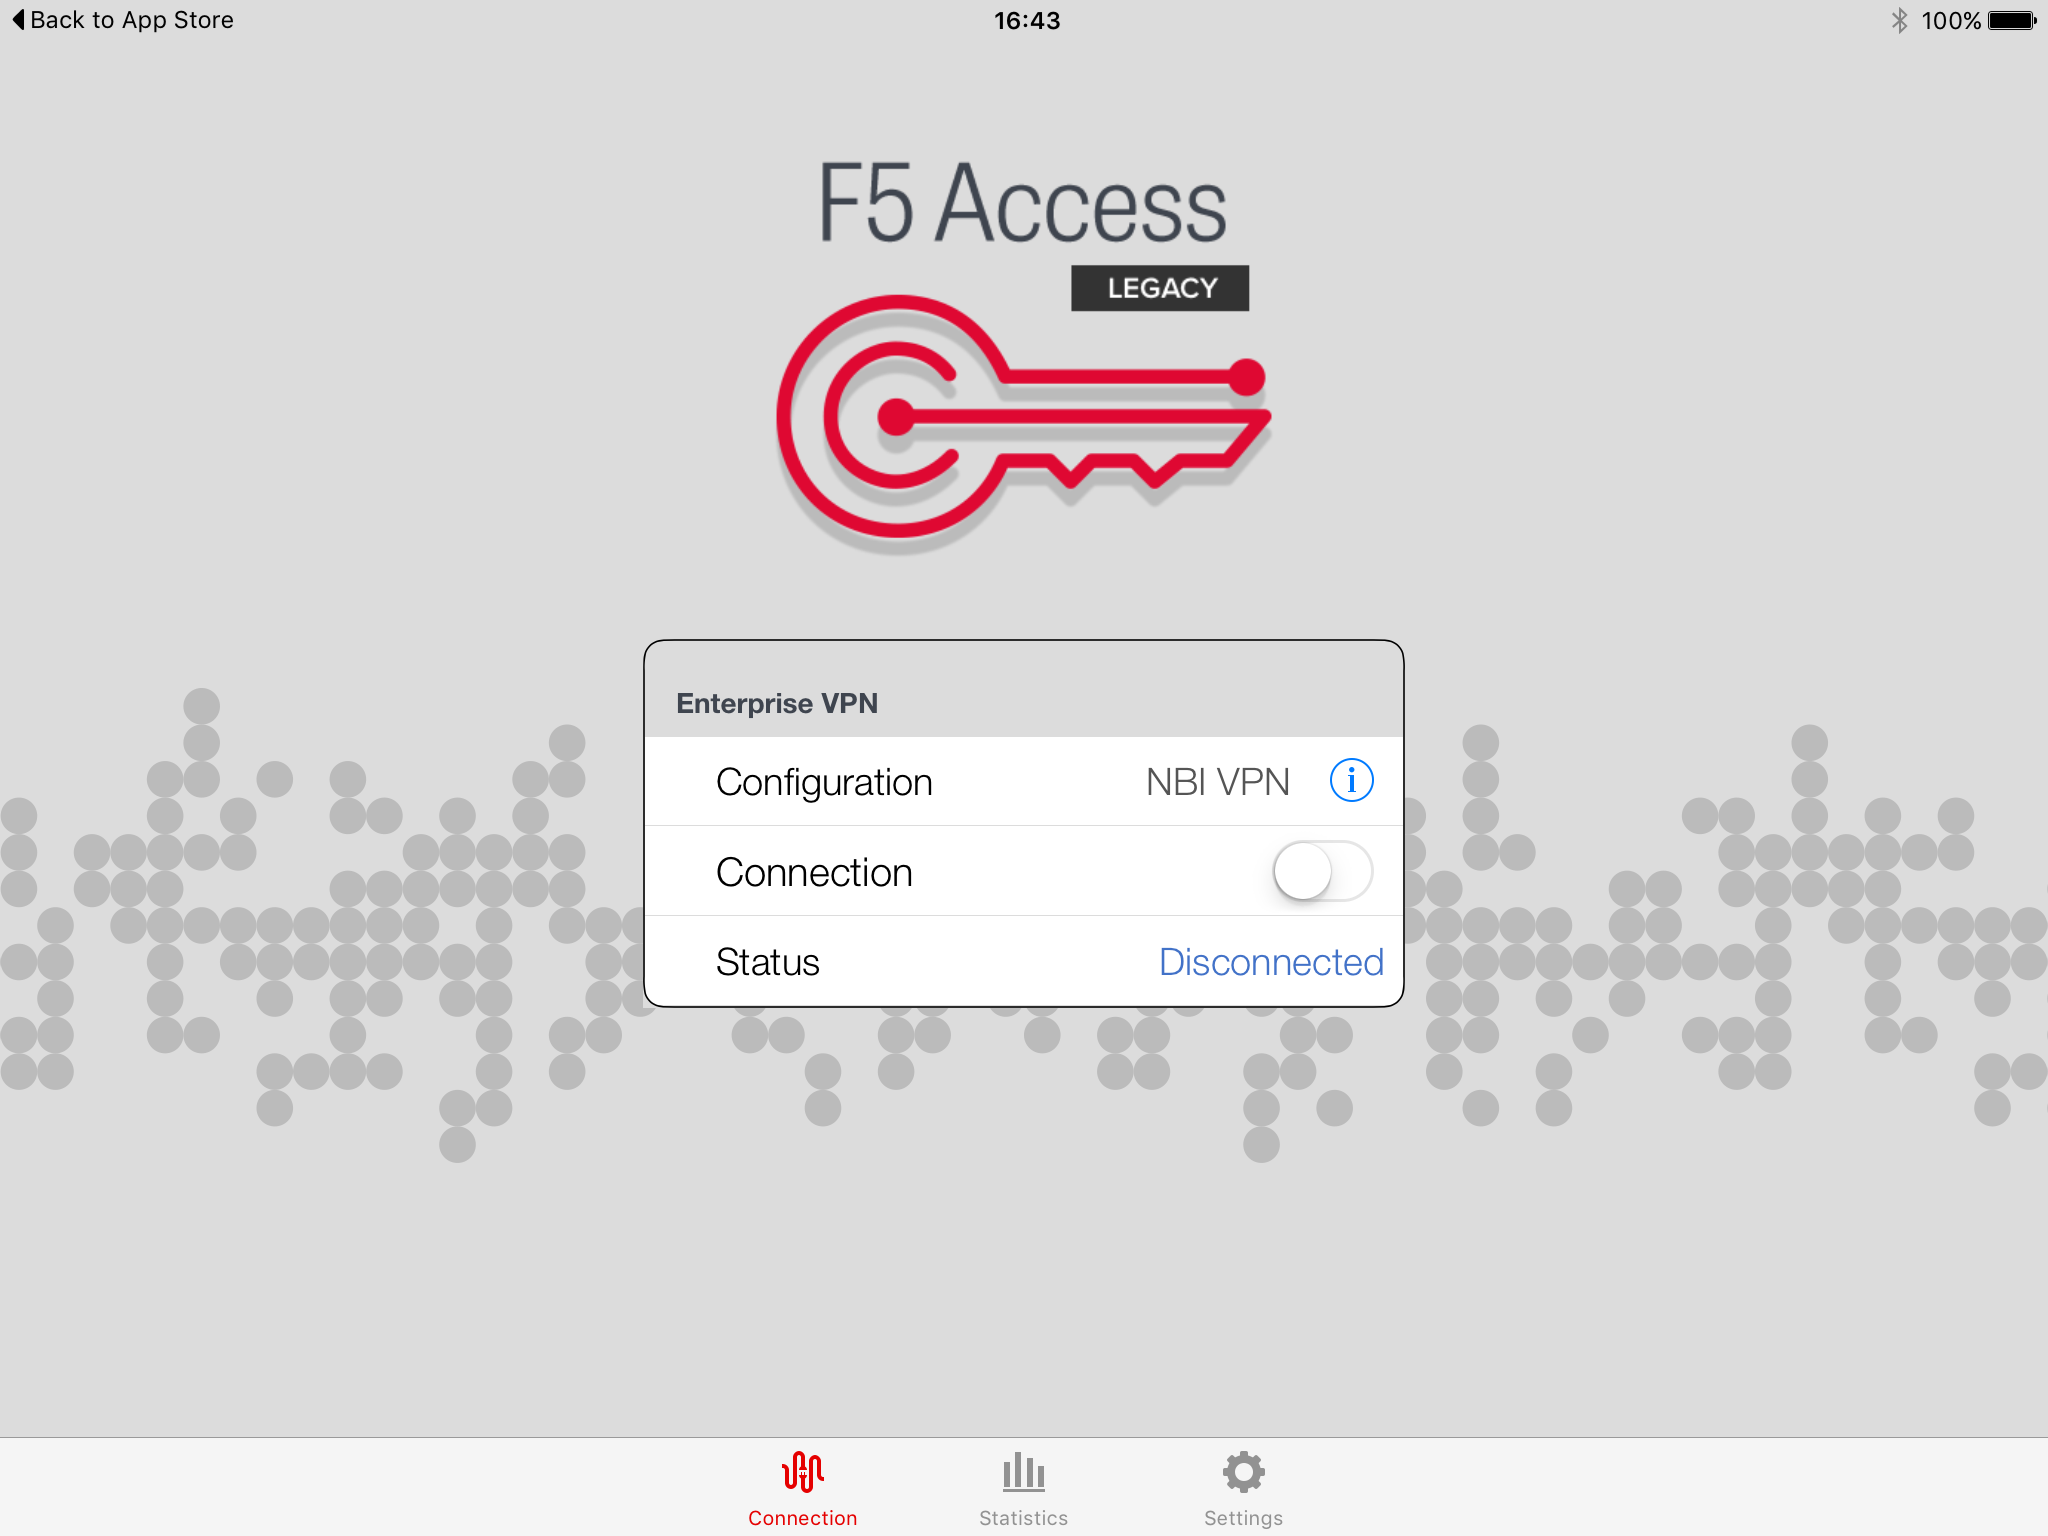
Using the iOS client
From the connection view, toggle the [Connection] button.
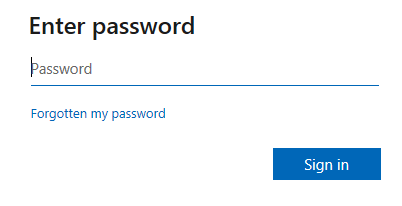
Enter your username@nbi.ac.uk and click next followed by your NBI password.
.
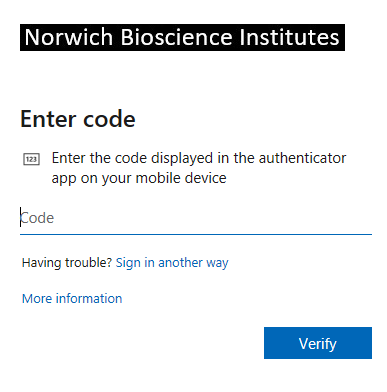
Confirm you details with your chosen method of multi factor authentication.
That’s it. You should now be connected.
Installing & using the Android client
After downloading the Installer, run it and go through the standard process for installing an android application.
First-time configuration
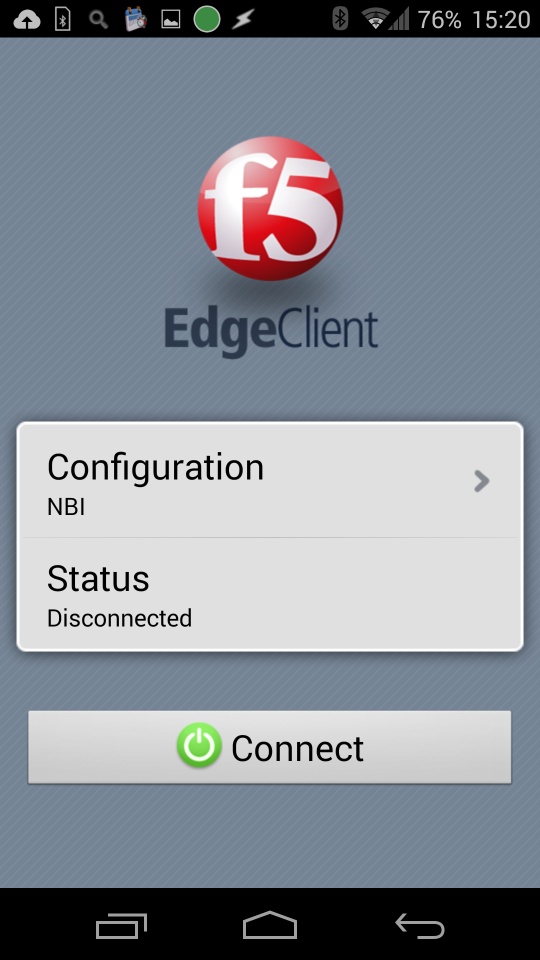
Run the installed app “Edge Client”, then
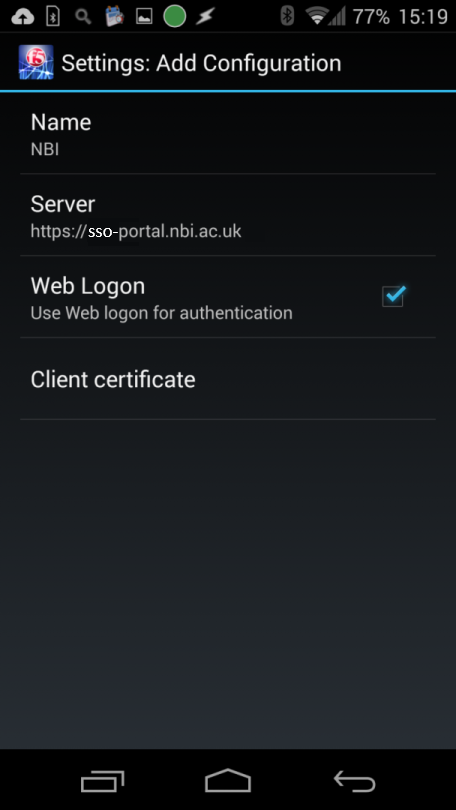
Tap on [Configure server]
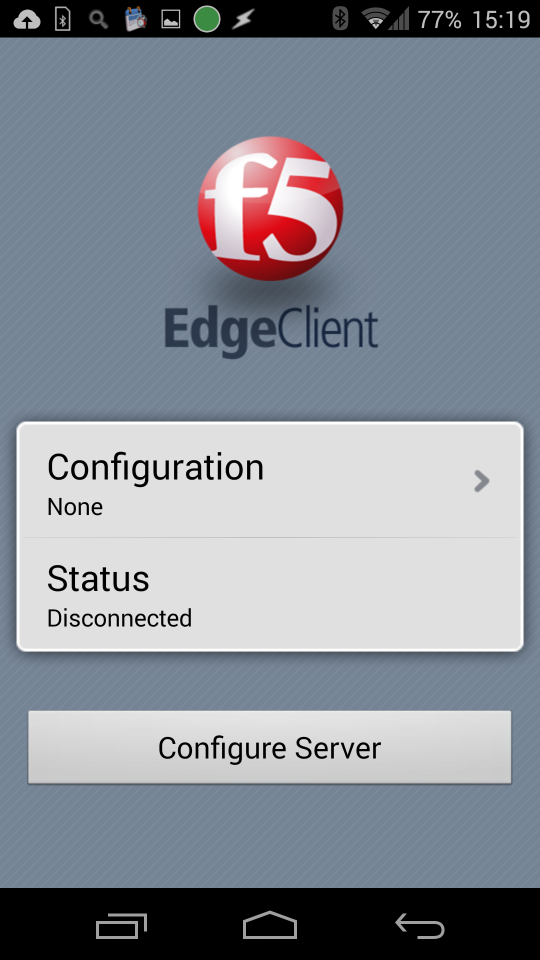
Name your connection whatever you like, set the server to sso-portal.nbi.ac.uk and tick “Web Logon”
Hit the back button on your android device and then tap on [Connect]
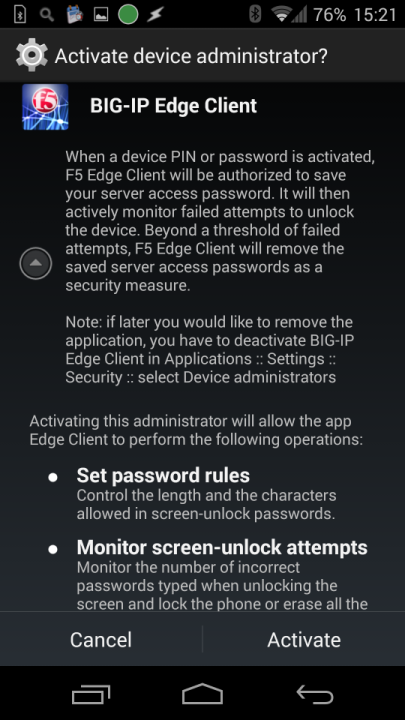
You will be asked to make the edge client an administrator. It needs this to be able to enforce passwords and monitor the screen. Please tap on [Activate]
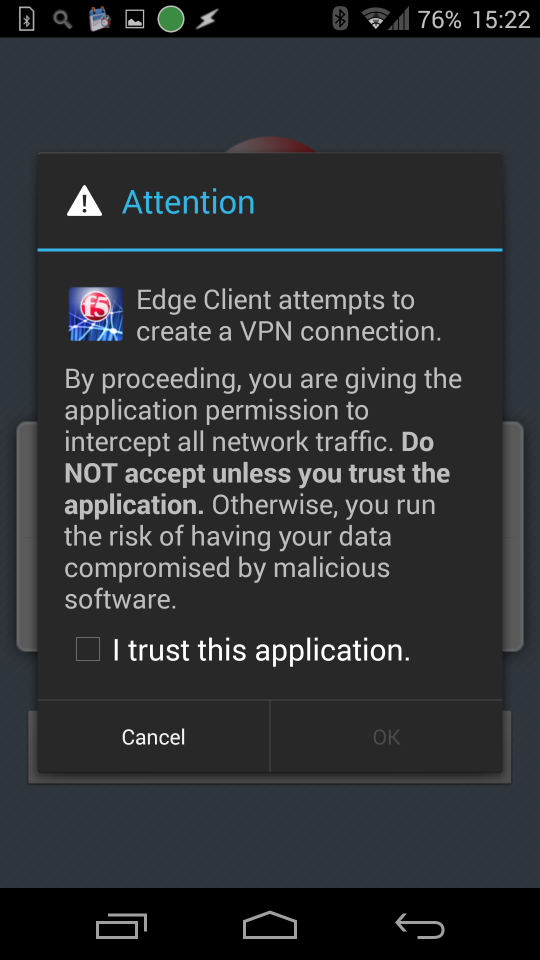
If you are asked to trust the application, please indicate that you do by checking the box and tapping [OK]
Using the android client
Having started the client, click connect and fill in your username@nbi.ac.uk along with your NBI password.
.
Confirm you details with your chosen method of multi factor authentication.
That’s it. You should now be connected.
Installing & using the Windows client
DOWNLOAD (note, download NOT run) the Installer. After it has downloaded, run it and go through the standard process for installing a windows application. If windows complains that it is from an unknown publisher, ignore this and continue with the installation.
To connect to NBI services –
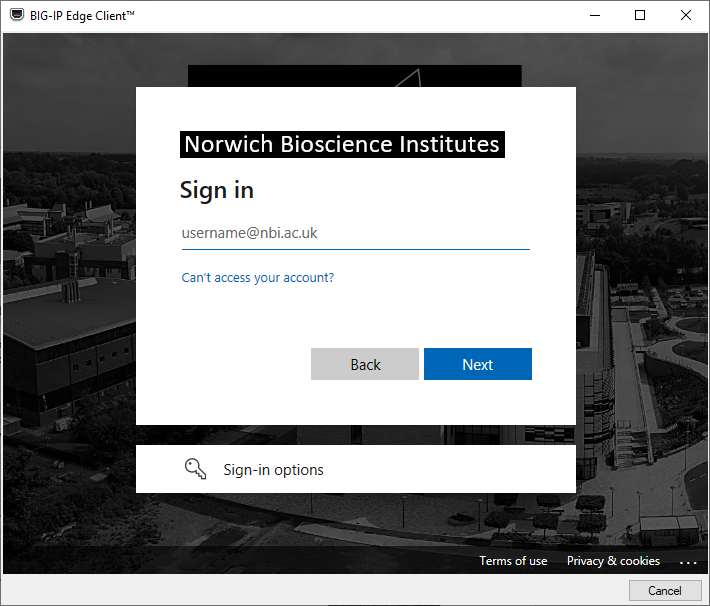
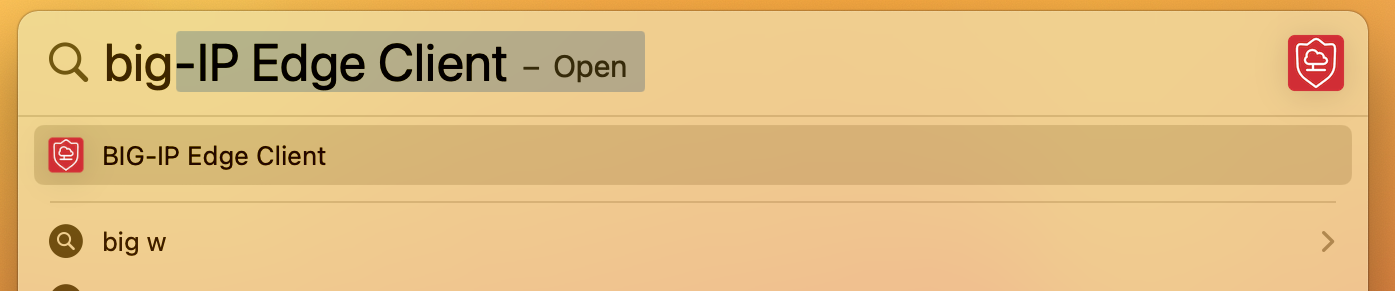
Run the installed program “Big-IP Edge Client” (hit the windows key and then type EDGE), then click on “BIG-IP Edge Client”

The server should be NBI (SSO). Click on [Connect]
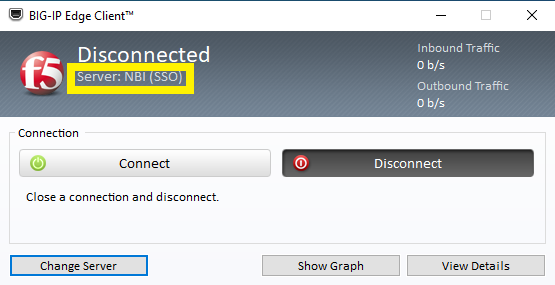
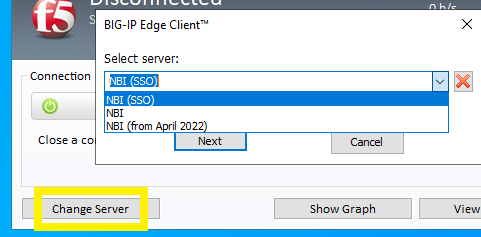
If the server is something else then change it here.
Fill in your username@nbi.ac.uk and your NBI password.
.
Confirm you details with your chosen method of multi factor authentication.
On NBI computers it may connect automatically without prompting for your details.
You should now be connected.
On some rare occasions, the process may ‘loop’ around.
If this happens – please select;
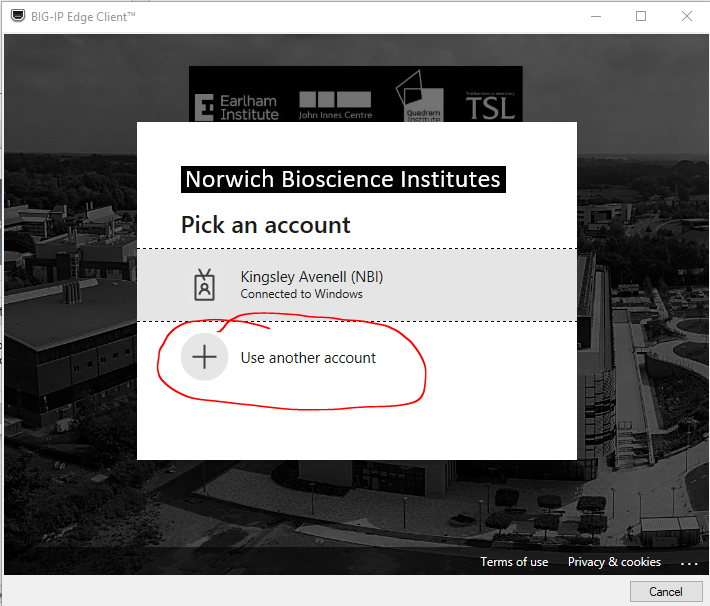
And enter your details in this format: YourUsername@nbi.ac.uk
If you are still having issues a re-install of Big-Edge will typically resolve it.
Please go back up to the downloads section to grab the current version of the software
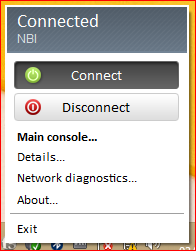
To disconnect-
Click on the  icon at the bottom of your screen and click the [Disconnect] button
Installing & using the Mac client
After downloading the installer, run it and go through the standard process for installing a mac application.
To connect to NBI services –
Run the installed program “Big-IP Edge Client”, then
Ensure NBI (SSO) is selected
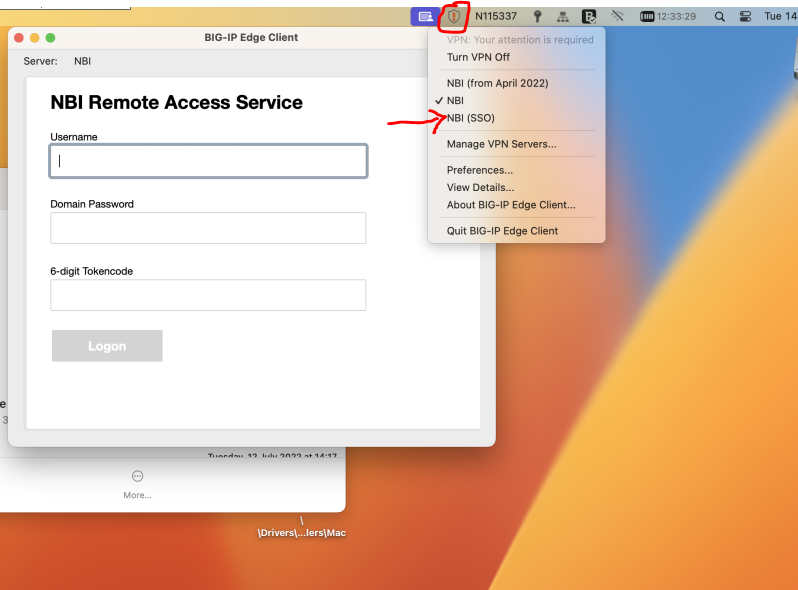
Fill in your username@nbi.ac.uk and your NBI password.
.
Confirm you details with your chosen method of multi factor authentication
On NBI computers it may connect automatically without prompting for your details.
You should now be connected.
On some rare occasions, the process may ‘loop’ around.
If this happens – please select;
And enter your details in this format: YourUsername@nbi.ac.uk
If you are still having issues a re-install of Big-Edge will typically resolve it.
To disconnect-
To disconnect temporarily click on the ![]() icon at the top of your screen and toggle “Turn VPN Off” from the menu – the shield at the top will go from being full (VPN on) to being clear (VPN off). To reconnect choose “Turn VPN On”:
icon at the top of your screen and toggle “Turn VPN Off” from the menu – the shield at the top will go from being full (VPN on) to being clear (VPN off). To reconnect choose “Turn VPN On”:
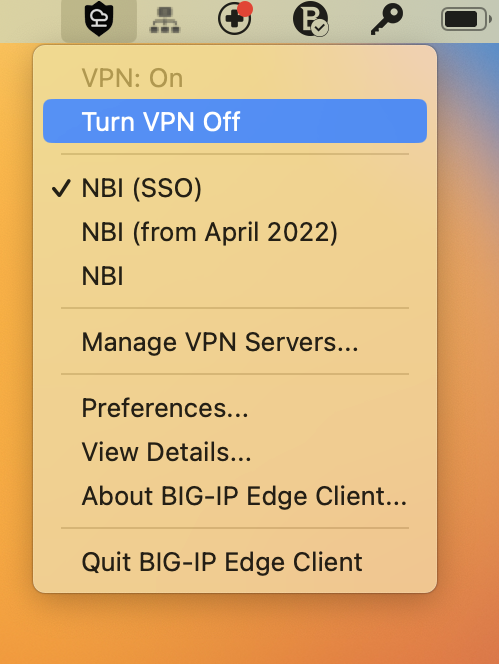
To disconnect permanently, e.g. at the end of your session, choose “Quit BIG-IP Edge Client” at the bottom of the menu.
Configuring Linux (command line)
After downloading the Debian-based installer (Debian/Ubuntu), or the RPM-based installer (Fedora/Red Hat/CentOS). You will then need to unpack both the browser plug-ins and the endpoint inspector open a command window at the location you unpacked the files. Install the client by issuing the following commands.
For Debian:
$ dpkg -i linux_f5vpn.x86_64.deb
$ dpkg -i linux_f5epi.x86_64.deb
For RPM:
$ rpm -i linux_f5vpn.x86_64.rpm
$ rpm -i linux_f5epi.x86_64.rpm
If you have a previous package installed – then the uninstall utility is normally located in
/usr/local/lib/F5Networks/uninstall_F5.sh
Using the Linux client (command line)
Note: This will only give you limited connectivity as it is not possible to identify your machine using the LINUX client. You can use remote desktop services to access file shares etc. once connected
To initiate a connection, open a web browser like Chrome and go to https://sso-portal.nbi.ac.uk/, there type in your username, password and then enter your 6-digit code that you use for access Microsoft services.
Once the web page has appeared – you should have an option for “NBI policy” – click on that and the VPN client should open in a new browser window showing the connection progress and the traffic flowing through the link.
To disconnect from VPN:
Choose disconnect within the web browser and then close the browser window.