Microsoft Forms is a tool to create surveys, quizzes, and polls, and easily see results as they come in.
Note: Create your form in Excel for the web or OneDrive for Business to get a live spreadsheet containing real-time results
Create a form with Microsoft Forms
4 ways to create your form –
Note: Forms created in Excel or OneDrive for Business contain a live data connection to your form. Any new response data in your form will be updated in your spreadsheet in real-time. For forms created in Forms on the Web, the results spreadsheet is a snapshot in time and is not updated automatically.
Sign in to Office 365 and create a new Excel workbook
Click Insert > Forms > New Form to begin creating your form.
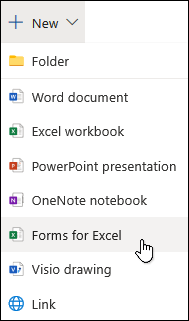
Sign in to Office 365 and go to your OneDrive.
Click New, and then select Forms for Excel to begin creating your form.
Note: You can also create your in a Form in an Office 365 Group folder.
In your web browser, go to forms.office.com. Sign in with your Office 365 work credentials.
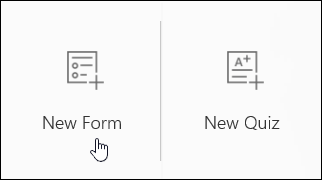
Under My Forms, click New Form to begin creating your form.
Sign in to Office 365 with your work credentials.
Open the OneNote notebook in which you want to insert a form.
On the Insert tab, select Forms.
A Forms for OneNote panel will open and dock on the right side of your OneNote notebook.
Click Sign in.
When you see the message, “Forms for OneNote wants to display a new window,” click Allow.
In the Forms for OneNote panel, you’ll now see a list of any forms and quizzes you’ve created.
Under My Forms, click New Form to begin creating a form. A new window will open with a blank form and default title (“Untitled form”).
Click on the default title to add your own. You can also add a description for your form.
Enter a name for your form. You can also enter an optional subtitle.
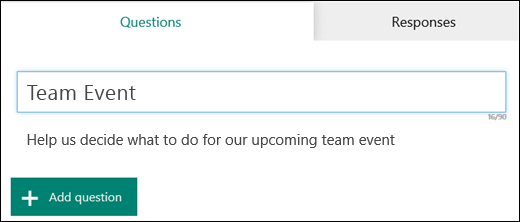
Click Add Question to add a new question to the form. Choose from Choice, Text, Rating, or Date questions. You can also click More , and select Ranking, Likert, or Net Promoter Score® questions.
Note: Your form is saved automatically while you create it.

For choice questions, enter the text you want to display for the question and each of the choices.
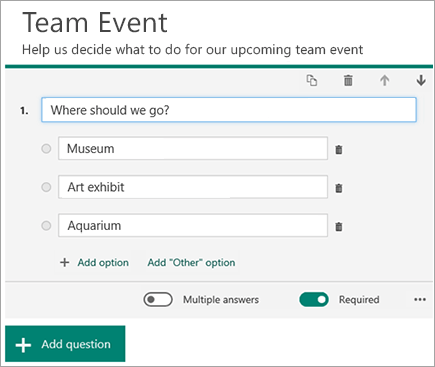
Click Add Option to add more choices than the default two choices. Click Add “Other” Option to add an ‘Other’ option for free text. You can also choose to make a question required or allow multiple choices for a question by changing the settings at the bottom of the question.
Some choice questions will trigger auto suggestions.
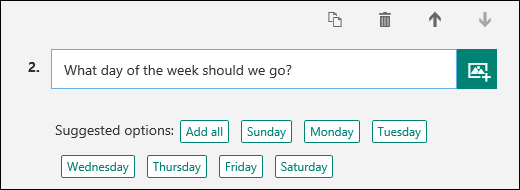
Click on the suggested options to add as choices. In the following example, Monday, Wednesday, and Friday are selected.

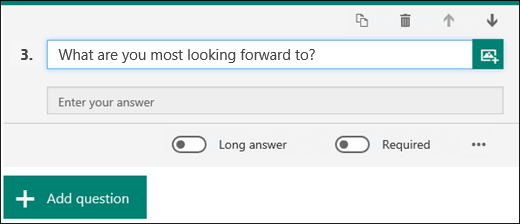
Click Add Question to add more questions to your form. To change the order of the questions, click the Up or Down arrows on the right side of each question. For text questions, select the Long Answer option if you want a larger text box displayed on the form.
Tip: To copy a question, select it and then click the Copy Question button in the upper right corner.
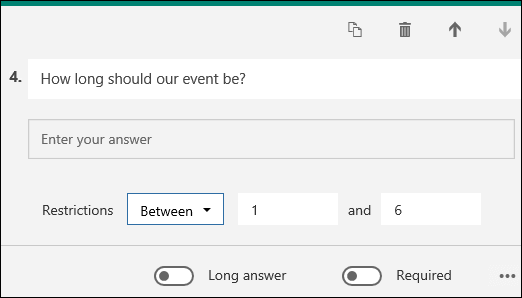
Text questions also allow you to set restrictions when you need to have numbers as the answer. Click More settings for question, and then select Restrictions. You can choose to restrict the numbers by selecting from the various options such as Greater than, Less than, Between, and many others.
Click Preview at the top of the design window to see how your form will look on a computer. If you want to test your form, enter answers for the questions in preview mode and then click Submit.
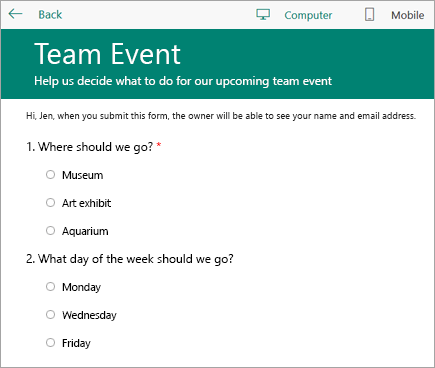
Click Mobile to see how your form will look on a mobile device.
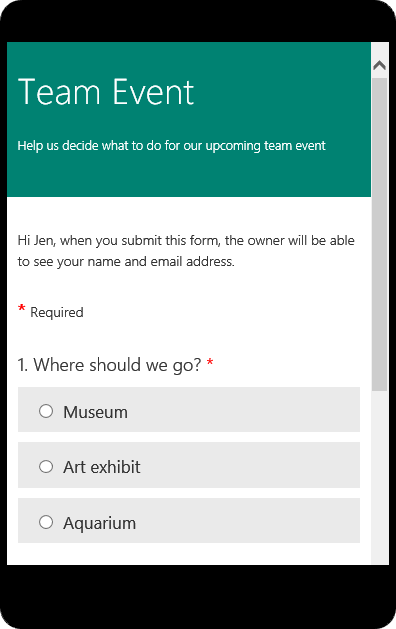
Click Back when you are finished previewing your form.
Note: Your form is saved automatically while you create it.
Check and share your form results
Microsoft Forms includes rich, real-time analytics that provide summary information and individual results for surveys and other types of forms. You can export the results to Microsoft Excel for more in-depth analysis, as well as delete or print a summary of responses.
View summary information for your form
After you create your form, adjust its settings, and share your form with others, it’s time to view the results. In Microsoft Forms, open the form for which you want to review the results, and then click the Responses tab.
Across the top, you’ll see summary information data about your form, such as number of responses, average time it took for responders to complete your form, and form’s current status.
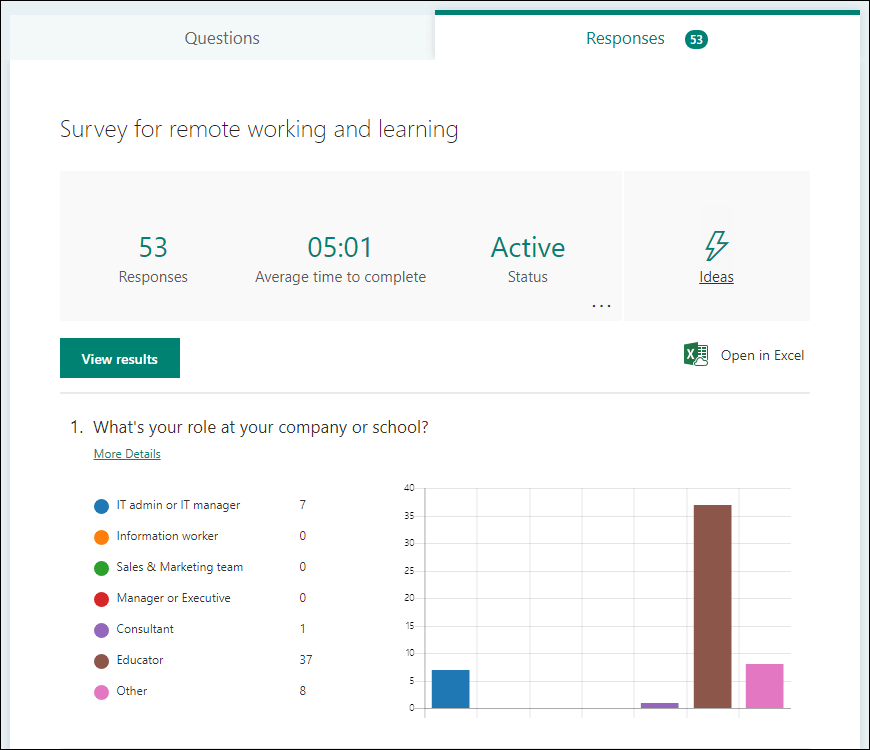
Next to each question, you’ll see the number of responses and a colorful chart of the breakdown of responses.
Check response data for each question
Click View results to see individual details for each responder, such as time it took to complete your form and the option(s) selected.

Click the arrow next to the Responder name to jump to the results of another responder. You can also click the left and right arrows to toggle through the result details of the other responders.
Click More options *** and then choose whether to Delete response or Print response for a particular individual.
Export form results and open in Excel
You can easily view all of the response data for your quiz or other form in Microsoft Excel. Click Open in Excel on the Responses tab to capture a snapshot of your current response data.
Notes:
- If you’ve created your form in Forms on the Web (https://forms.office.com) and click Open in Excel, an offline Excel workbook will open that has no relationship or connection to your form.
- If you’ve created your form in OneDrive for Business and click Open in Excel, your Excel workbook is automatically stored in OneDrive for Business and contains a live data connection to your form. Any new response data in your form will be reflected in your workbook.
- If you’ve created your form in Excel Online and click Open in Excel, your Excel workbook is automatically stored in OneDrive for Business and contains a live data connection to your form. Any new response data in your form will be reflected in your workbook.
Analyze form results in Excel
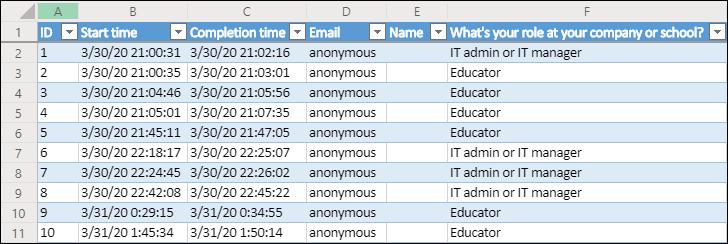
Each question in your form is a column and each response becomes a row in the Excel workbook. The first four columns display the start time and completion times for each response, and the name and email address for each responder. The subsequent columns display that responder’s selections.
Notes:
- Any changes you make to the form data in Excel won’t modify the content of the response table.
- Names and email addresses of anonymous students won’t be displayed if you allow your form to accept anonymous responses.
View details for each question
Click the Details link to see more details for each question. On the details view, you can see the name of each responder and his or her answers for each question.
Tip: Click the column headers to sort the response results.

Share results with others
- Select the Responses tab.
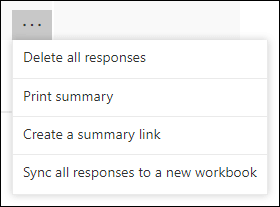
- Click More options .
- Choose Get a summary link.
- Click Copy.
When you paste this link, anyone that has the link will be able to view a summary of responses for your form.