Setup Multi-Factor Authentication on your Office 365 account (MFA)
Multi-factor authentication (MFA) adds an additional layer of security to your account when you access any Office 365 service, including e-mail on a new device (and when you change your password). After successfully entering your password you will need to verify your login. This can be in the form of a phone call, text, or by using a smartphone app. NBI Computing is recommending the Google Authenticator app for MFA, but it is important to configure more than one option. Google Authenticator is available in your phone’s app store, so make sure you have downloaded it before you start the setup.
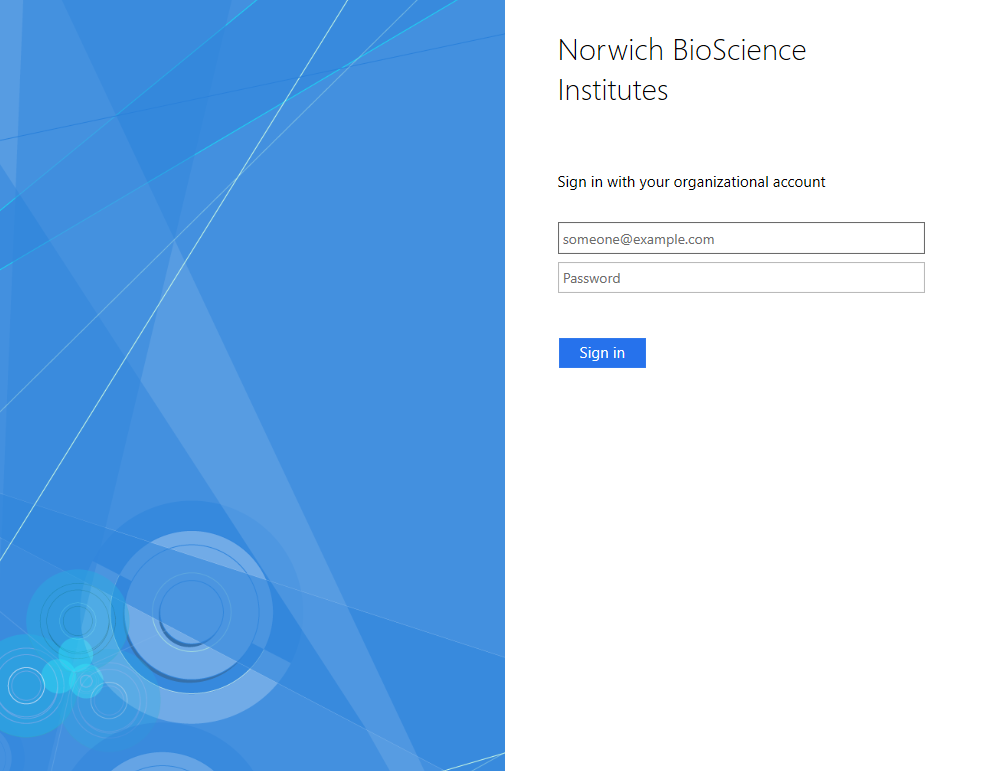
Start by going to your account settings at https://aka.ms/mfasetup
Login in with your UPN (username@nbi.ac.uk).
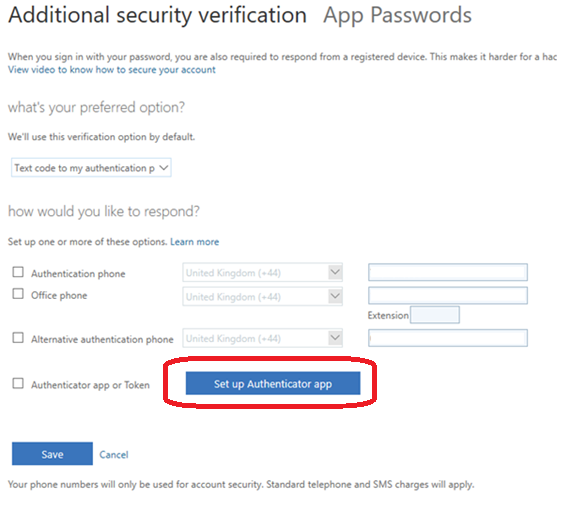
This page has the various methods for verifying your login. Your office phone number will be preset based on your Intranet record. To setup Google Authenticator click on the “Set up Authenticator app” button
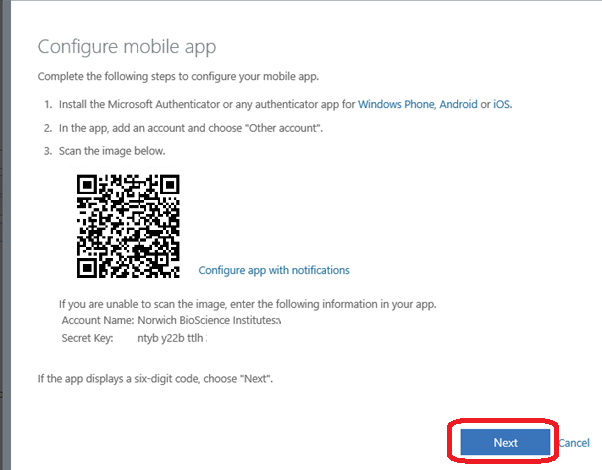
Select the option to Configure app without notifications
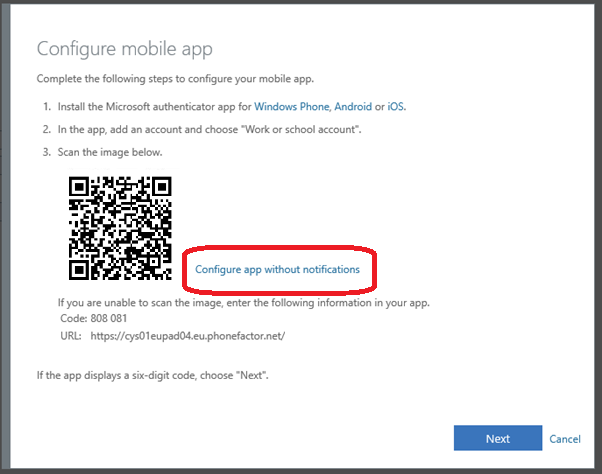
The QR code displayed will be used by Google Authenticator.

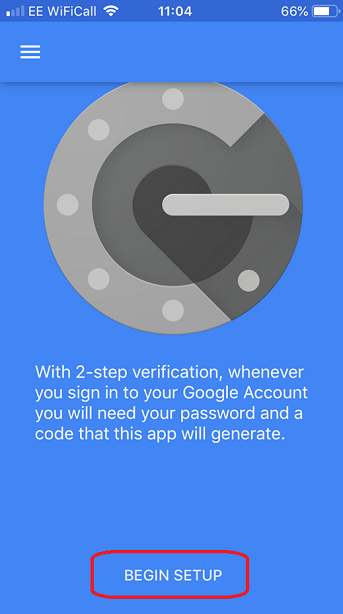
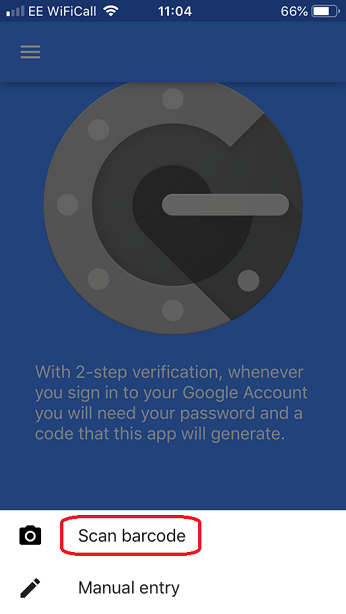
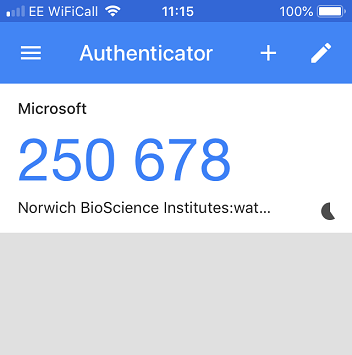
Having downloaded Google Authenticator, launch the app and begin setup. Scan the QR code mentioned above or use the secret key to setup the app.
If it was successful you will see a 6 digit token code in the app.
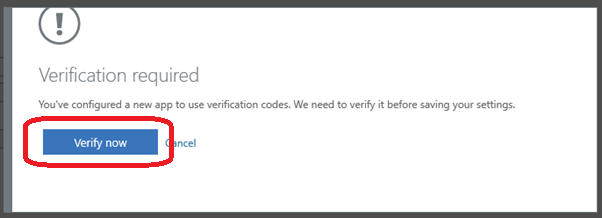
On your PC, click Next and then Verify Now
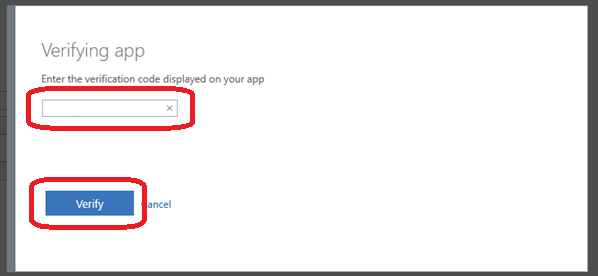
Use your code from Google Authenticator to verify your request.
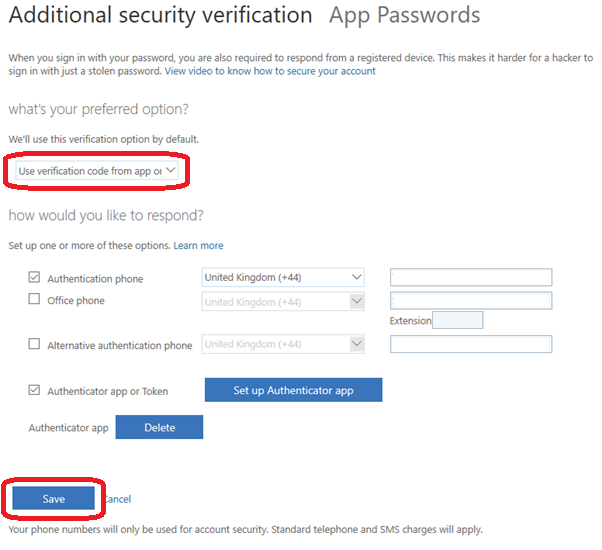
Ensure the default method of verification is set to “Use verification code from app…” and then click Save
In future when you logon to e-mail, OneDrive or any other Office 365 service on a new device you will be presented with a normal logon prompt followed by an MFA request.

Please note, if you are already accessing your NBI e-mail from your phone or another IMAP/POP client, you may need to remove the mail account and add it back for it to work. The Outlook app is our recommended mail client for all devices including phones.